Making a canvas print from your picture can be a daunting project - even for professionals.
I know because we have helped close to 100,000 customers make canvas prints over the last 10 years.
Some of them have been famous photographers. Most of them are not photographers at all but have important pictures they want turned into canvas prints that look great in their homes.
Whether you are a beginner or pro, this guide will show you everything you need to know to make sure you are happy with your canvas print.
Lets get started.
- Your Image Quality and Print Size
- Find the Right Print Size
- Choose the Wrap Type
- Select Protective Coating
- Handling the Edges (sides/top/bottom)
- Canvas Floating Frames
- Shipping a Canvas
- Hanging a Canvas
- Large Canvas Prints
- Ground vs Freight Shipping
- Popular Canvas Images
- Conclusion
1. Your Image Quality and Print Size
Figuring out the best print size for your image can be confusing. But we have some guidelines to help.
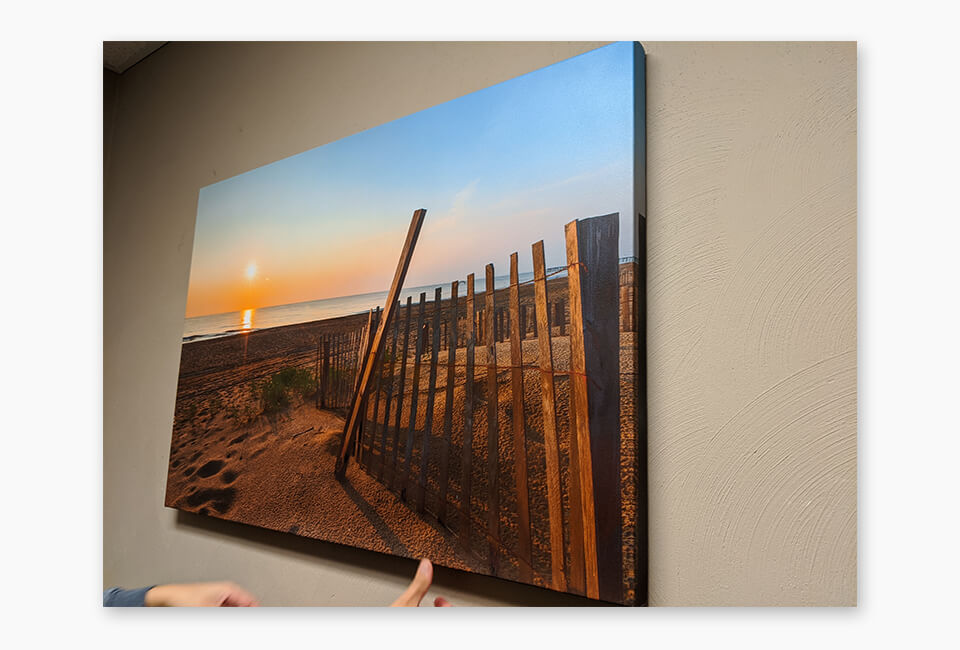
If your picture was taken with a professional or prosumer level camera, and the picture is in focus, you will be able to enlarge the image to 40x60 inches or even larger.
The same guidelines hold true for cell phone images.
Cell phone cameras are amazing.
As long as the shot is in focus and there isn’t a lot of motion blur, you will be good at almost any size 40x60 or below with a modern cell phone picture.
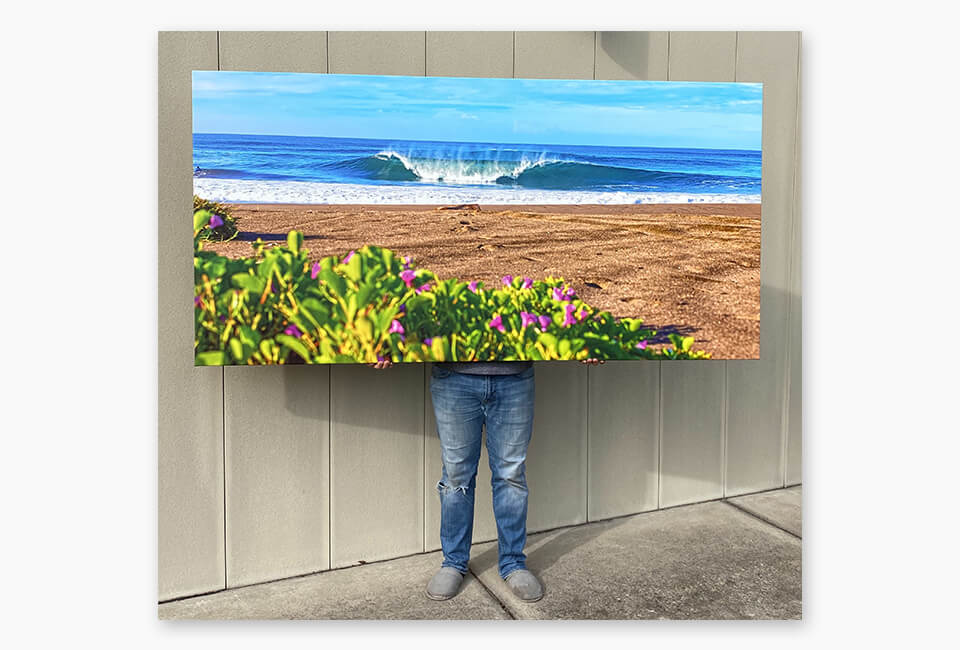
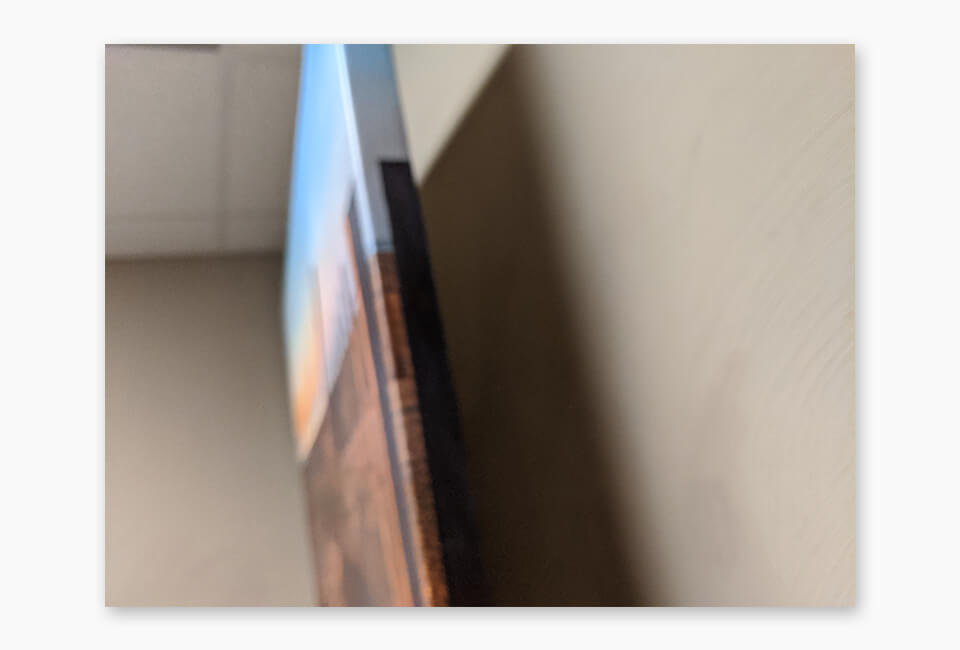
Here is a picture of a large canvas made with an image taken on an iPhone.
The one thing you want to look out for with cell phone images is making sure the image is not being compressed when you are uploading or emailing from your phone.
Some phones, especially Apple phones, will reduce the size of the image as you upload it. It is usually safer to transfer your image to the computer and upload it from there.
For Pictures You Didn't Take
Image quality and print size decisions get a little more difficult when you find the picture online, whether from Facebook, Instagram, or a free image site like Pixabay.
If that is the case, then you will want to check the file dimensions.
You can check your image dimensions by using our image size checking tool below or visiting our image size finder page.
Upload Your Image - Find Your Image Size
Files types accepted: .jpg, .jpeg, .png, .bmp.
Image Size Reference Points
If the picture is over 2000 pixels on each side, you can likely print at any size you want.
If your picture is over 1000 pixels on each side, you can print 24 x 36 inches or smaller.
If your picture is over 500 pixels on each side, we can probably run super resolution on your image and get it to print at 24x36 or smaller. You’ll want to email us the image if this is the case and we can try to improve it for you.
If your picture is under 500 pixels on either side, then definitely contact us to see if we can improve the image.
Often times we can do amazing things with tiny images. Or you can try out free image super resolution tool to improve your image.
If you’d like to read more in depth about image size and print size, here is an in depth blog post on choosing the best print size for your picture.
2. Find the Right Print Size
Aspect Ratio is the "shape" of your picture.
It’s a fraction created by taking the height and width of your image and boiling that down to the simplest number.
Here is an example:
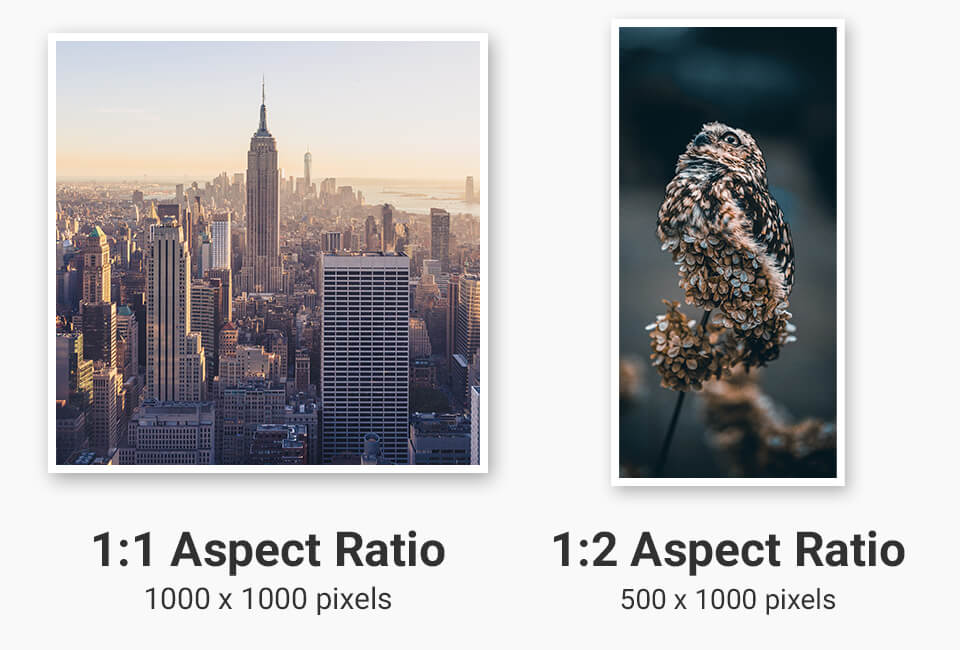
Both your image and the canvas print will have their own aspect ratios.
Whenever possible, we recommend that you match the print size aspect ratio to your image’s aspect ratio. As long as you can do that, you won’t have any problems with image aspect ratio in printing.
But if you need a specific size canvas print, and the image doesn’t match, that is when you will need to make a decision.
You will have three options: Cropping your image, adding black bars, or stretching your image.
Cropping Your Image
When you crop an image, you remove parts of the image from the printed area – either the sides or top and bottom.
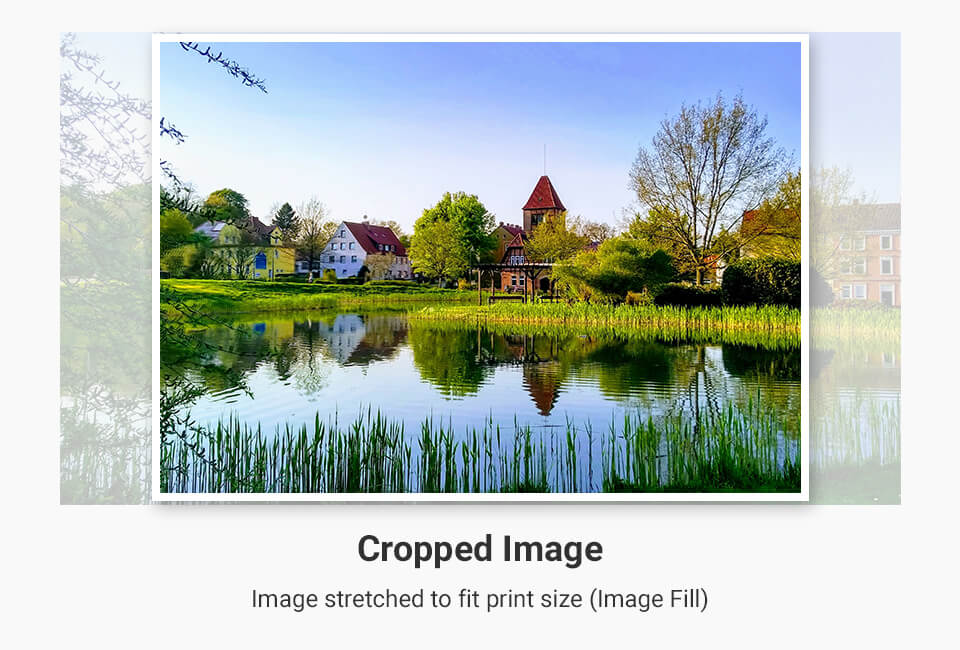
If there are unimportant details on the edges of the image, cropping works great. But if there are important details of the image near the edges, cropping isn’t a good solution.
Adding Black Bars
If cropping doesn’t work well for your image, adding black bars is another option to get it to fit the print size.
Below is an example of black bars
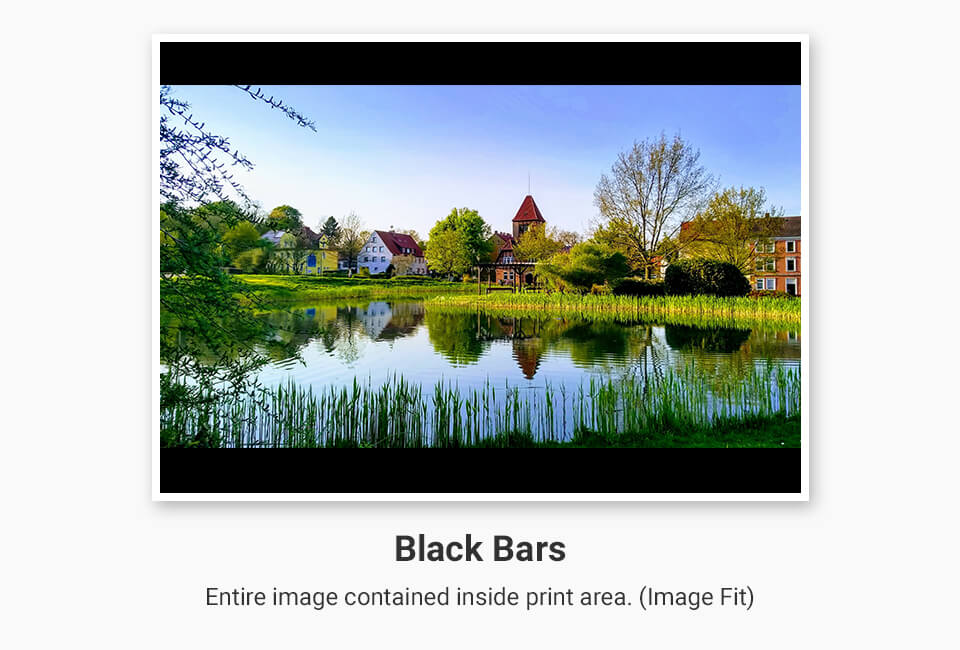
The black bars allow you to fit the full image on the print, and they are visually comfortable because we see these black bars on wide screen movies.
Stretching the Image
Another option is to stretch the image, either horizontally or vertically, to get it to fit the print area.

If it’s a minor stretch, this can work great and not be noticeable. But if the stretch is drastic, it will look odd. We only recommend stretching a very minimal amount.
You can go here for a full detailed guide on image aspect ratio and print size.
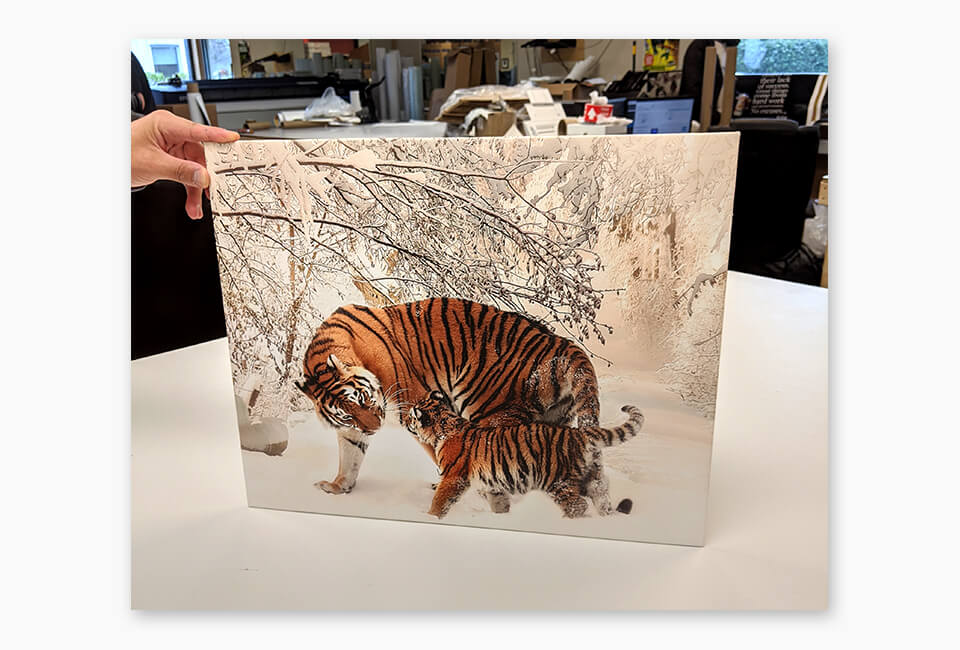
3. Choose the Wrap Type
We offer four types of canvas wraps: Gallery, Standard, Cafe, and Unwrapped.
Gallery Wrap
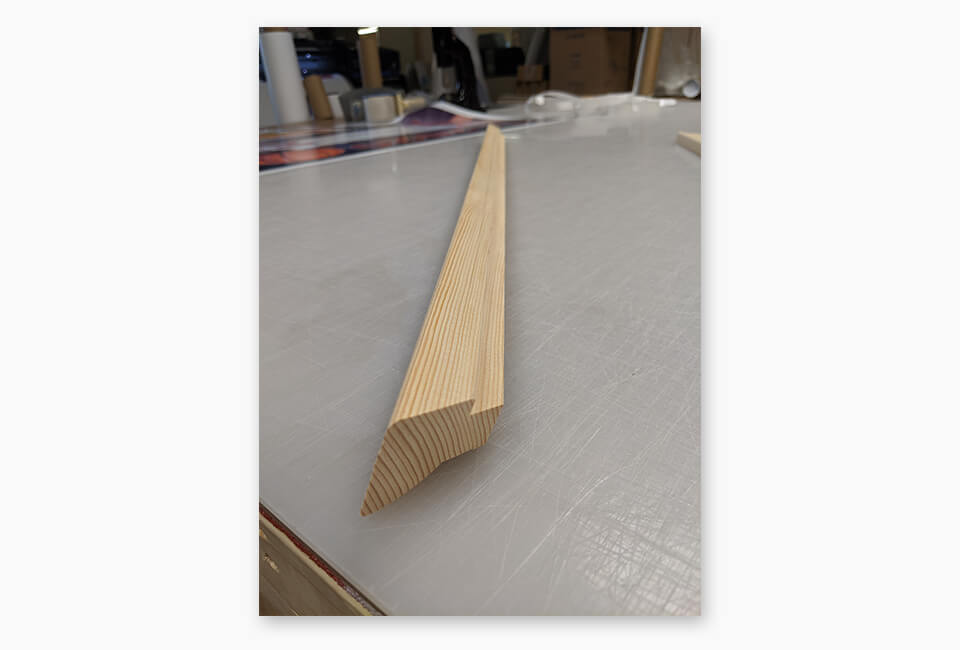
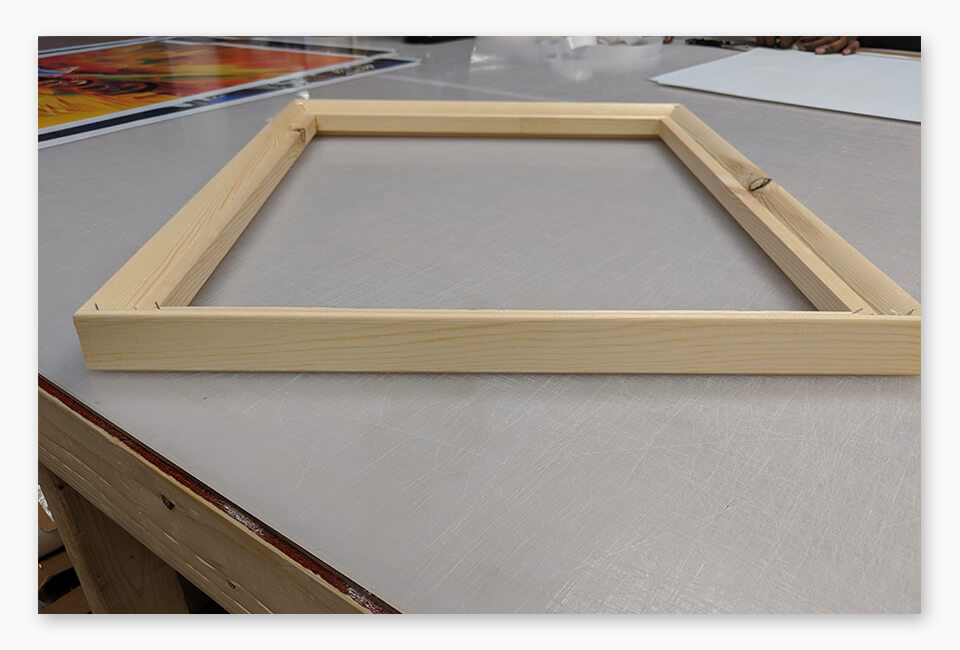
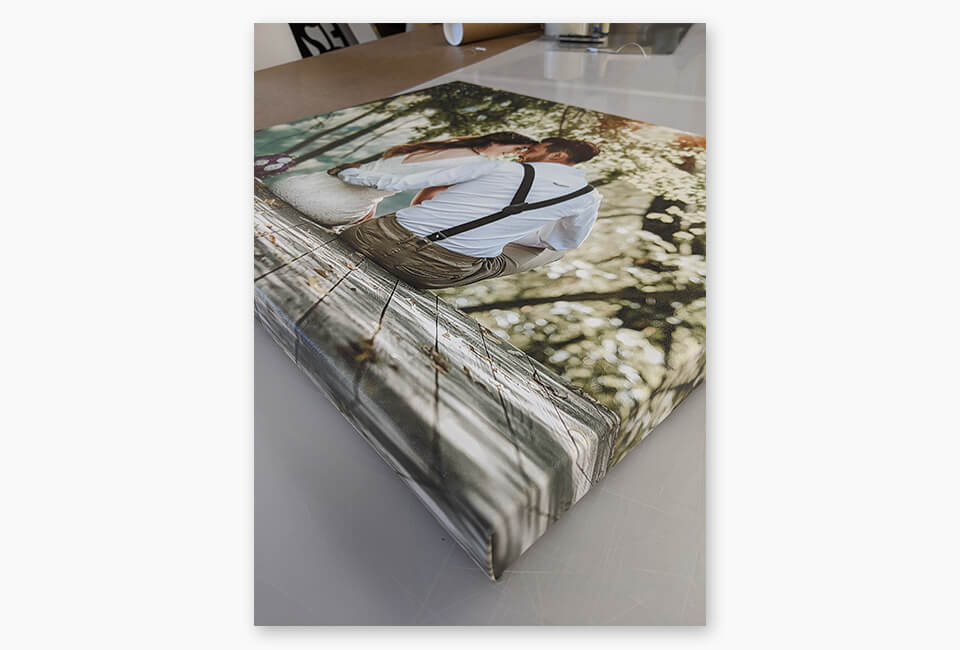
A gallery wrap is made with 1.5 inch stretcher bars. The canvas is then wrapped around the stretcher bar frame.
Here is what a gallery stretcher bar looks like:
And here is a gallery frame:
And here is the canvas wrapped around the gallery frame:
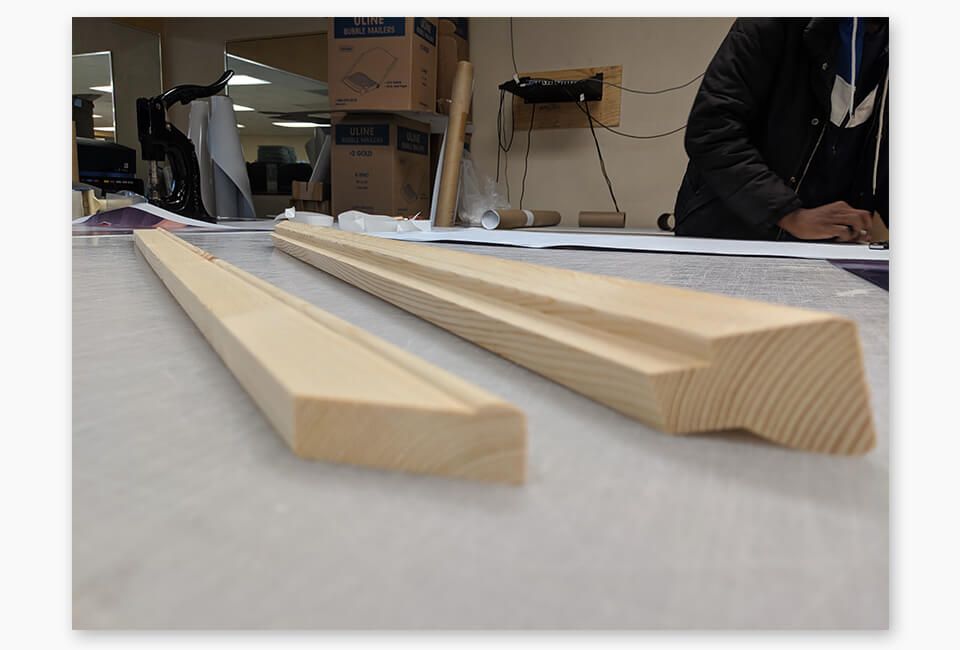
Standard or Thin Wrap
A standard, or thin wrap, is made just like a gallery wrap, except the stretcher bars are .75 inches instead of 1.5 inches.
Here is a standard stretcher bar next to a gallery stretcher bar:
And here is a standard wrap in the middle compared to a gallery wrap on the bottom, and a cafe wrap on top.
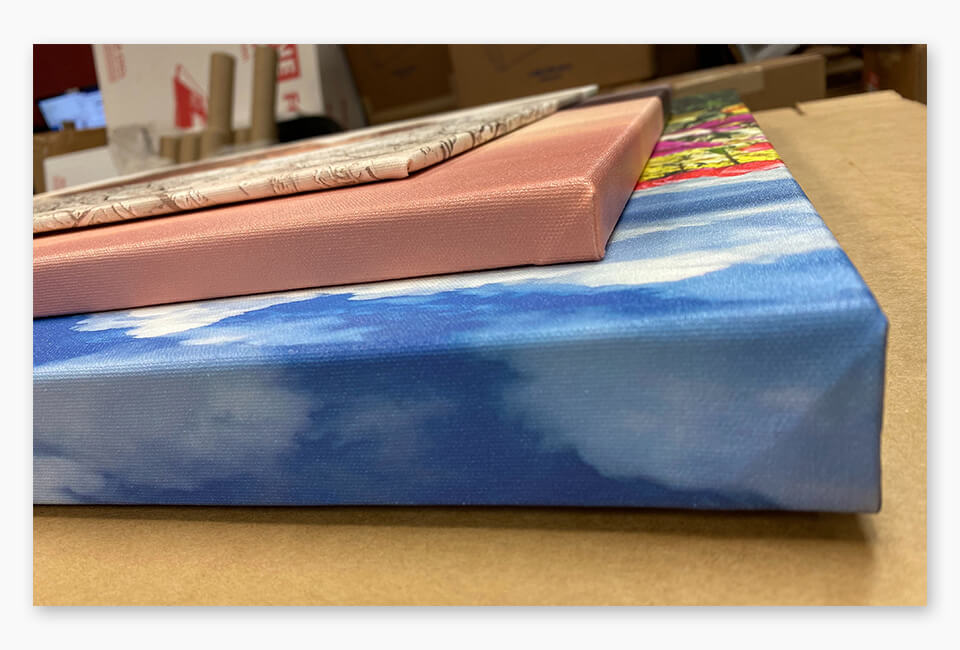
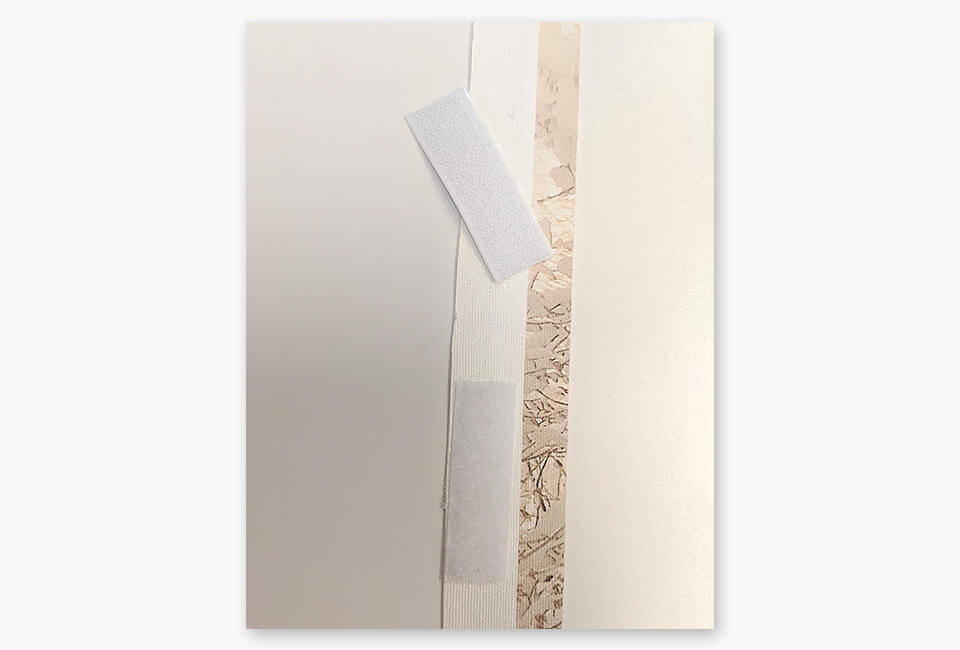
Cafe Wrap
A café wrap is a canvas wrapped around foam core board. The foam core board is 3/16ths of an inch thick, and adhesive is used to bond the canvas to the back of the board as it wraps around.

Café wraps are typically hung with double sided Velcro tape which we include with every café wrap canvas.
Unwrapped or Rolled Canvas
The final wrap option is to have no wrap, and the canvas will come rolled in a tube.
There are two reasons someone may get an unwrapped canvas – they are going to wrap it themselves or they will display the canvas without a wrap.
If You Need Wrap Room
If you plan to wrap the canvas yourself and need the wrap room added, you can just add in the notes of your order “LEAVE WRAP ROOM.” This signals to the printers that you plan to wrap it and they will prepare it correctly for you.
If You Do Not Need Wrap Room
If you do not need wrap room, it is a good idea to leave a note “NO WRAP ROOM” on the unwrapped canvas so that we get it right for you. We typically default to adding wrap room because even if it’s not needed, it can be easily trimmed off.
Those are the four wrapping options (gallery, thin, café, and unwrapped) for canvas prints.
4. Select a Protective Coating
You can choose either gloss or matte for the protective coating that gets applied to the canvas.
The purpose of the coating is to protect the canvas and to make sure the color holds true over an extremely long time frame.
The difference in gloss and matte coatings are minimal – with the true purpose of the coating being to protect the canvas.
We recommend gloss is most cases. The only cases where we would recommend matte coating is if the print will be displayed with a hard light shining directly on it.
5. Handling the Edges (sides/top/bottom)
Choosing an edge type for your canvas is one of the more important decisions when making a wrapped canvas print.
There are three options:
1. Full Wrap
2. Mirror Wrap
3. Solid Color Wrap
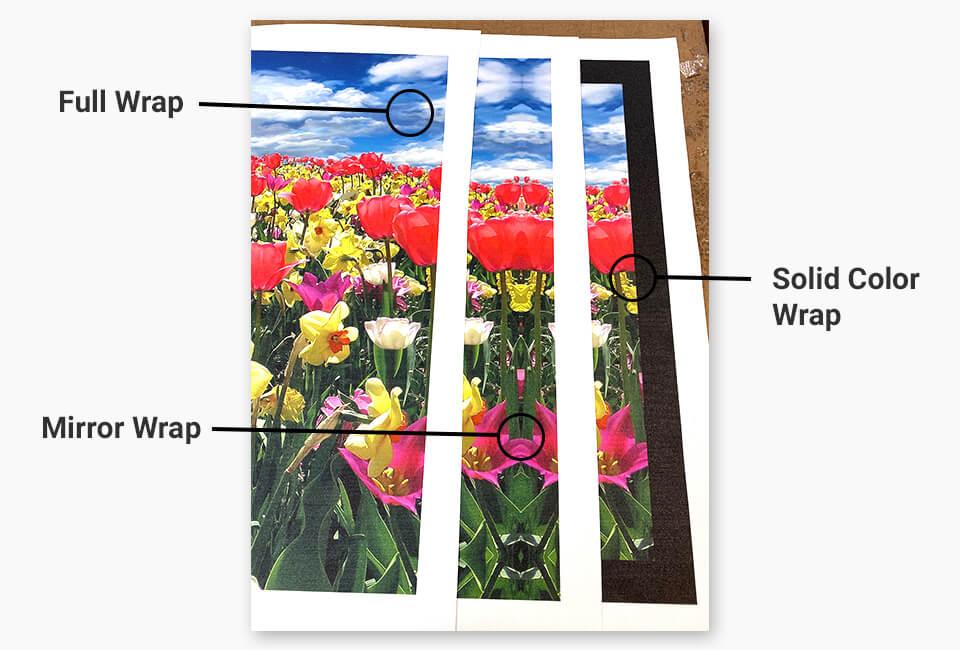
Mirror Wrap
A mirror wrap is the most popular option and the choice we recommend in most cases.
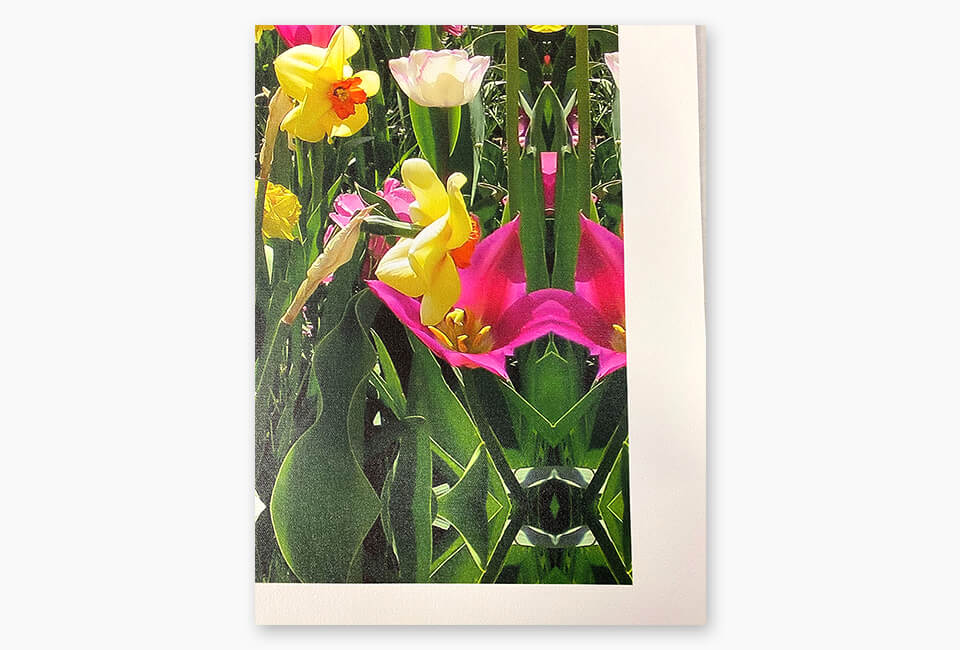
With a mirror wrap, the full image remains on the face of the canvas, and we mirror the edges of the image onto the sides, top, and bottom part that will be wrapped around the frame.
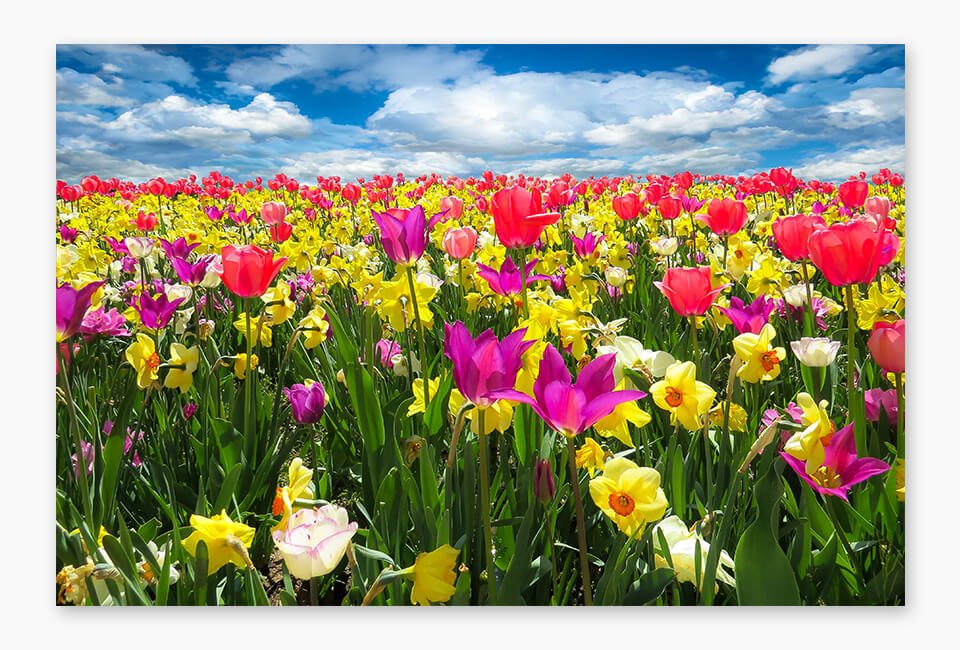
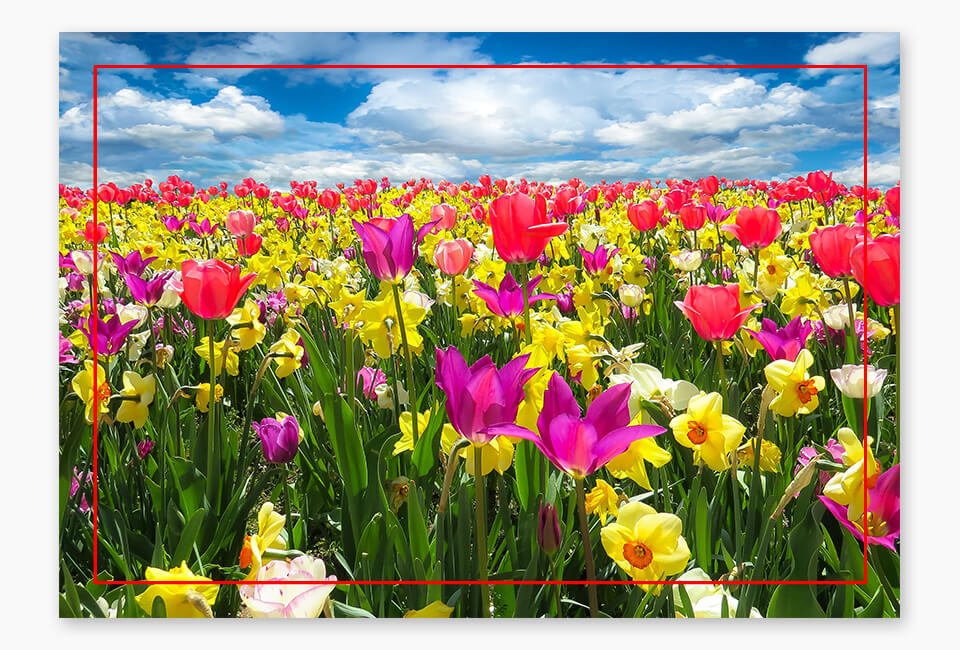
Here is an image of flowers that I'll use to demonstrate canvas edge types.
Below you can see the face of the canvas marked by the red line. The full image is on the face of the canvas, and then the sides, top, and bottom are mirrored.

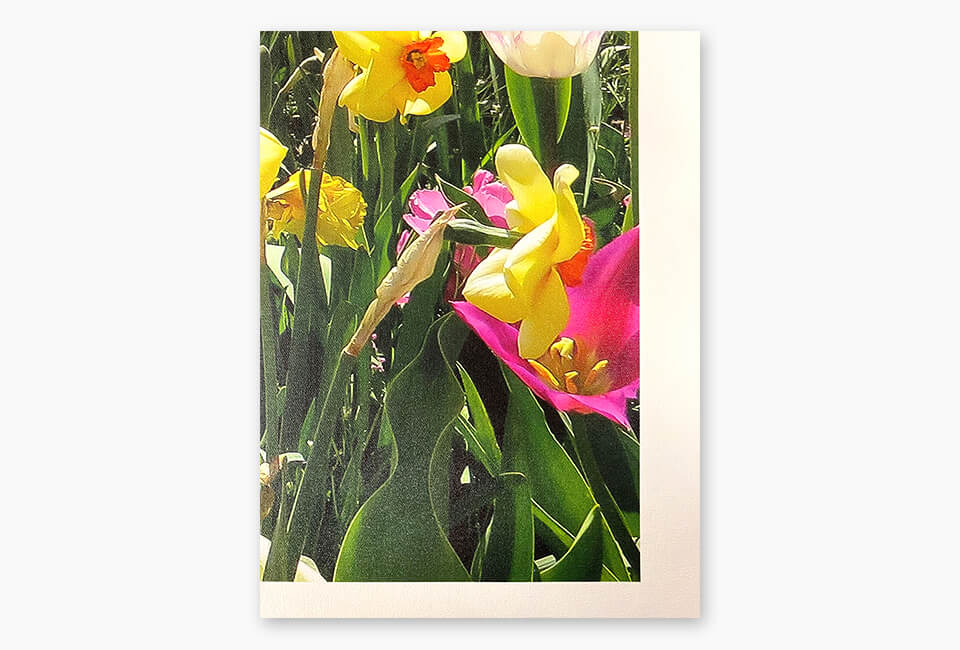
And here is a close up of the mirrored edge after it prints (This is the bottom right side of the canvas.)
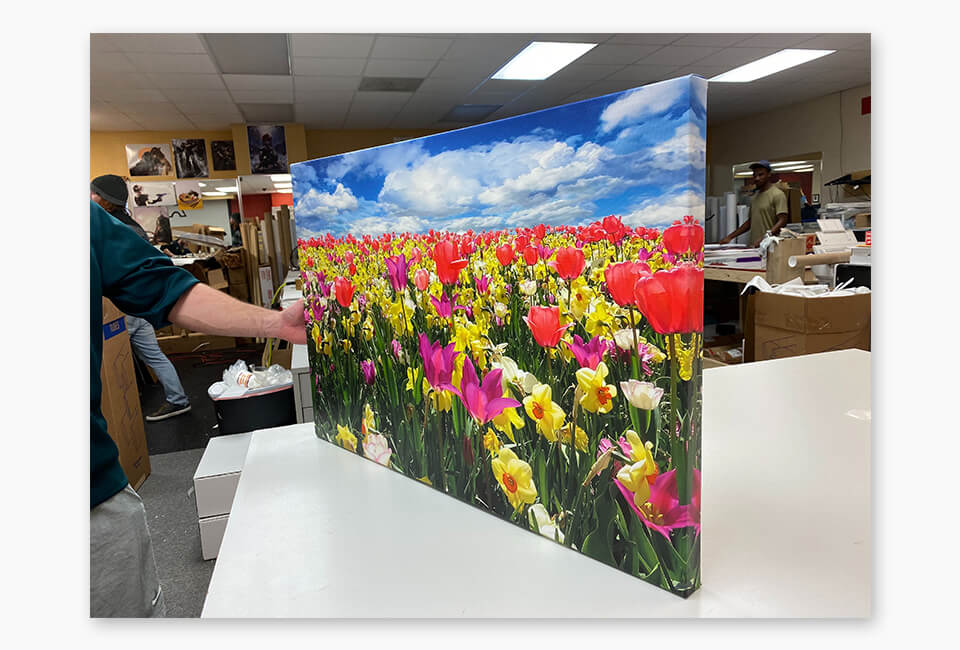
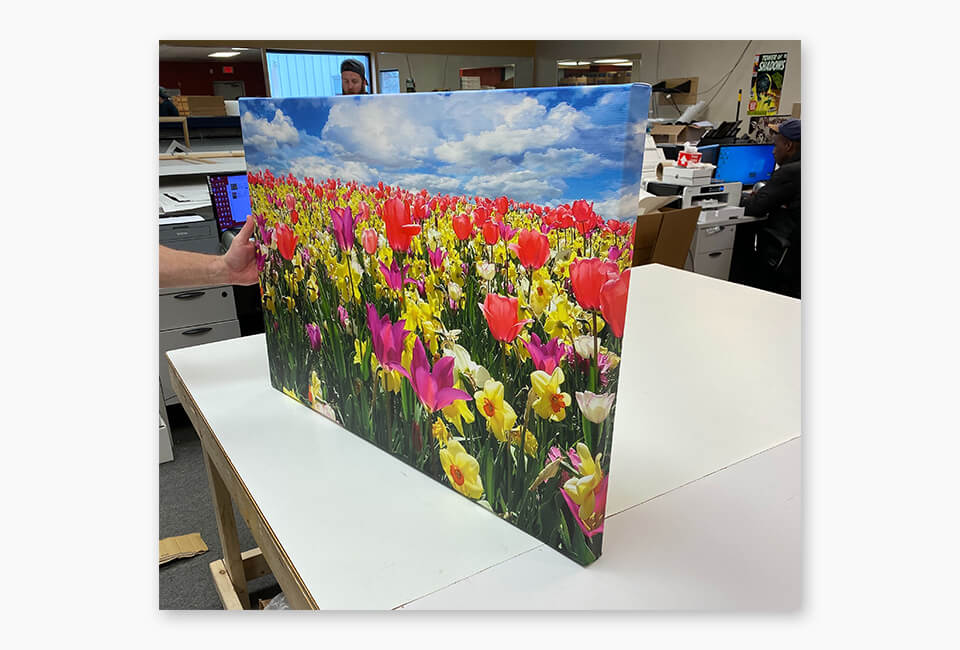
Finally, here is the image wrapped on canvas.
Mirror wraps typically work out to be the best option. The only time they do not work well is when the image has important details near the edge, such as a face, where it would look odd mirrored to the edge.
Full Wrap
A full wrap is where the image wraps completely around the canvas. The outer edge of the image is used to wrap on the sides, top, and bottom of the canvas stretcher bar frame.
Here is the example image prepared as a full wrap canvas. The red line is just here to show you what will be on the face of the canvas:
And here is the bottom right corner of the image after it prints on canvas.
You can see how the edges of the image wrap to the sides, top, and bottom of the canvas.
Solid Color Wrap
With a solid color wrap, the full image remains on the face of the canvas, and the sides are printed with a solid color.
Typically this color is white or black, but sometimes customers select a color that matches an element of the image.
Here is an image before the solid color wrap:
And here is that image wrapped with a black edge.
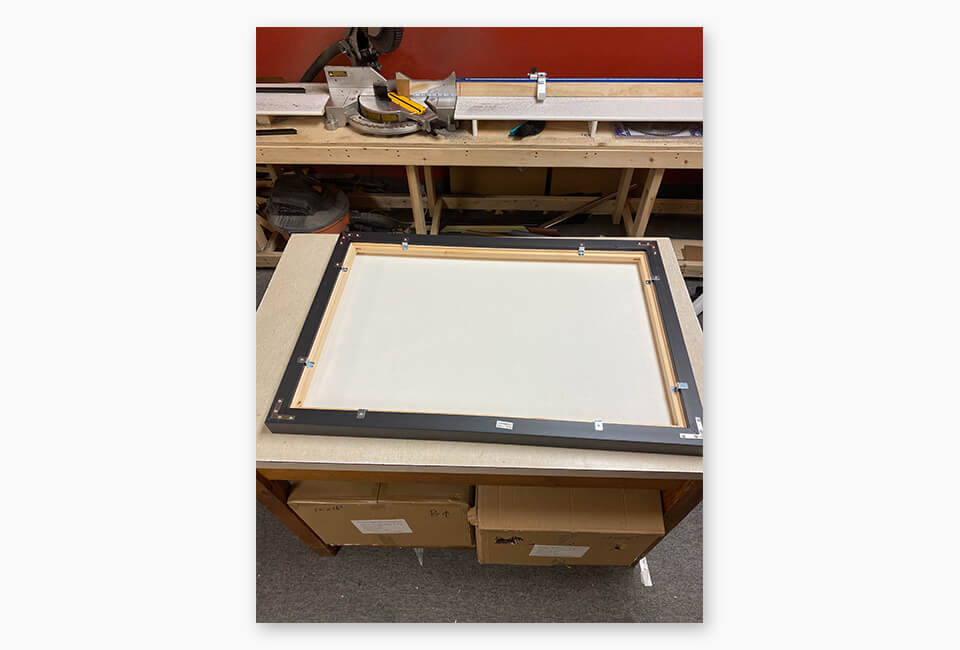
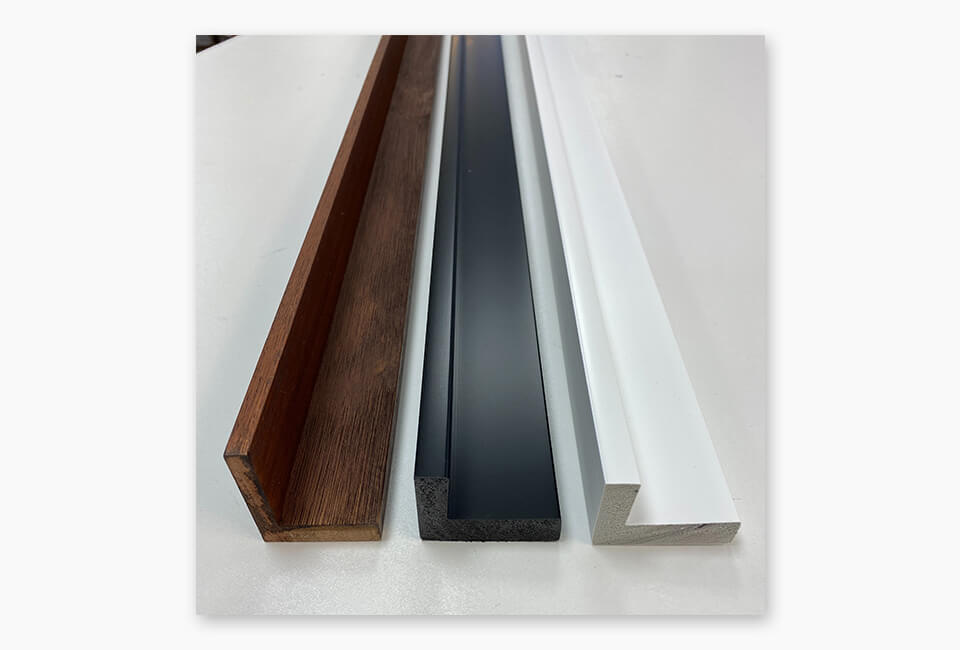
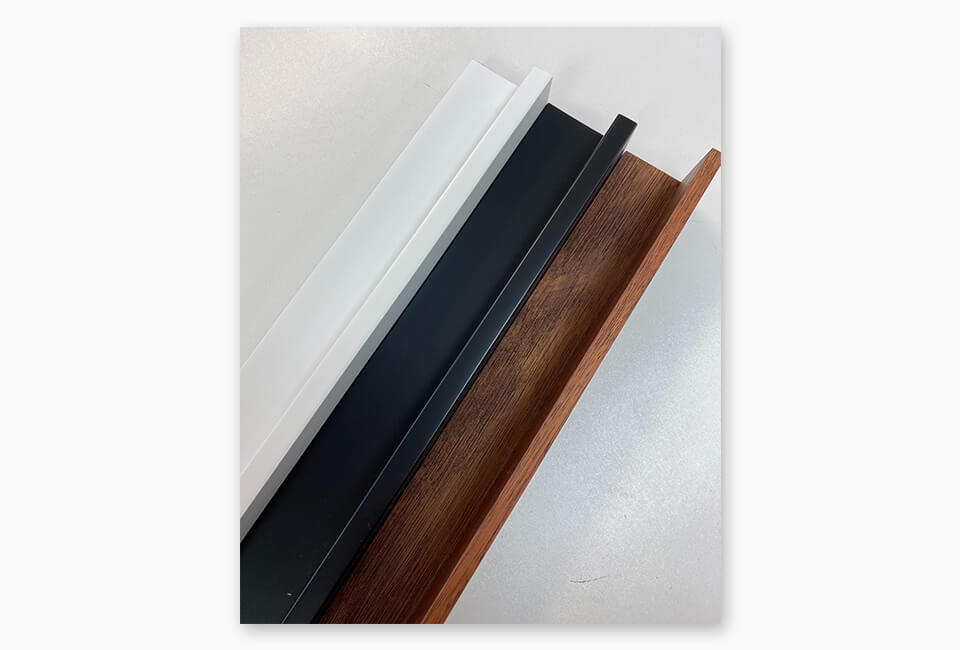
6. Canvas Floating Frames
If a canvas print is framed, it is typically done with a floating frame. The floating frame goes around the wrapped canvas and the canvas appears to float in the middle.
Here is an example of a canvas with a floating frame.
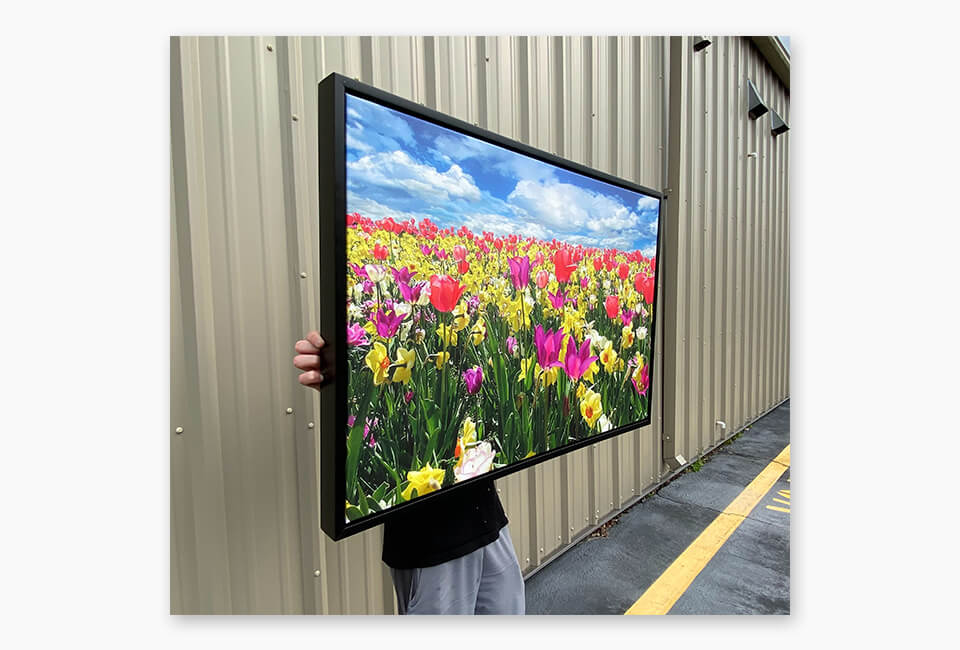
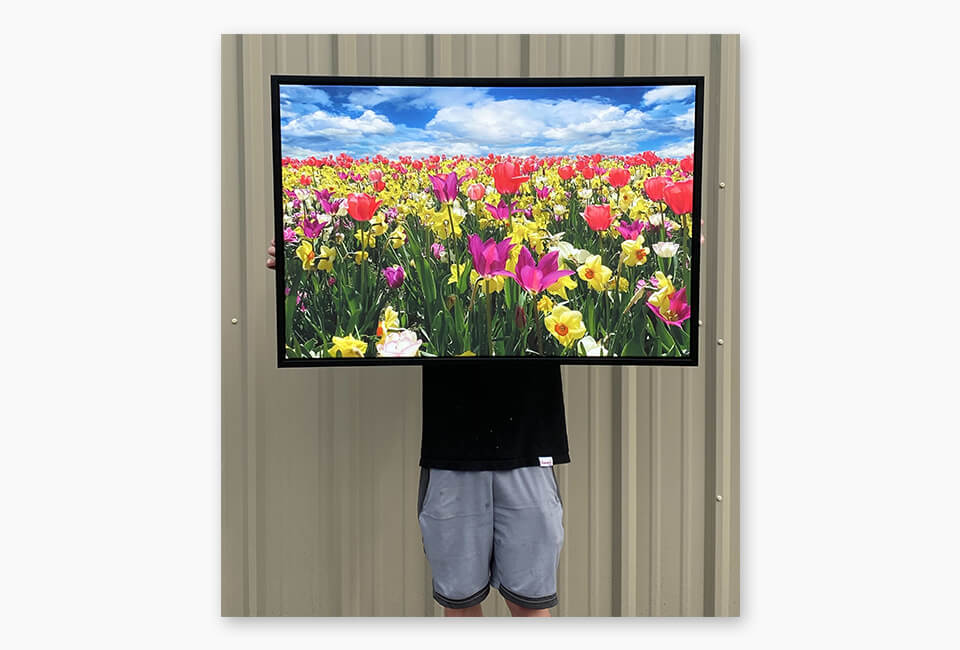
To achieve the floating effect, the frame is screwed into canvas stretcher bars.
We offer floating frames in wood, black, and white. You can see each color below:
7. Shipping a Canvas
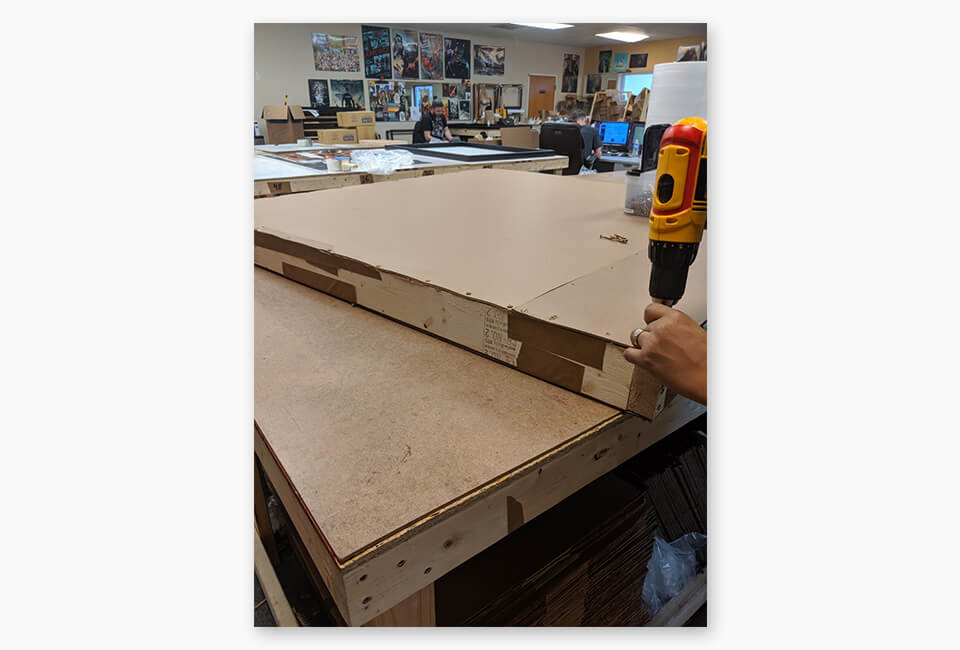
Shipping a canvas safely is an area where we excel. We designed our own box and insert to protect the canvas during transit.
We average less than 1 damaged print per 1000 canvases shipped. We also make sure to wrap the canvases in poly bags to protect against scratches and weather in case they are left on a porch during a rainy day.
8. Hanging a Canvas
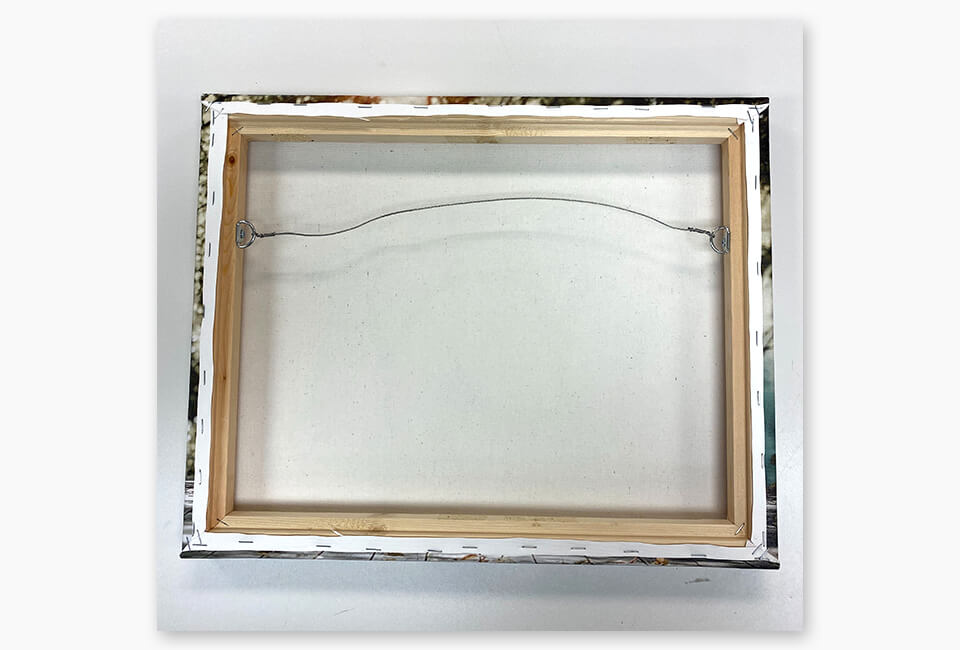
The most common way to hang a canvas is by putting nails or wall screws into the wall where you want to display it, and then hanging the frame onto the nail or screw. The open back of the canvas allows you easily hang it this way.
You can request hanging hardware which goes on the back of the canvas and looks like this:
There is no charge for the hanging hardware but you either have to add a note on the canvas “Add Hanging Hardware” or email in after placing your order as it is not included by default.
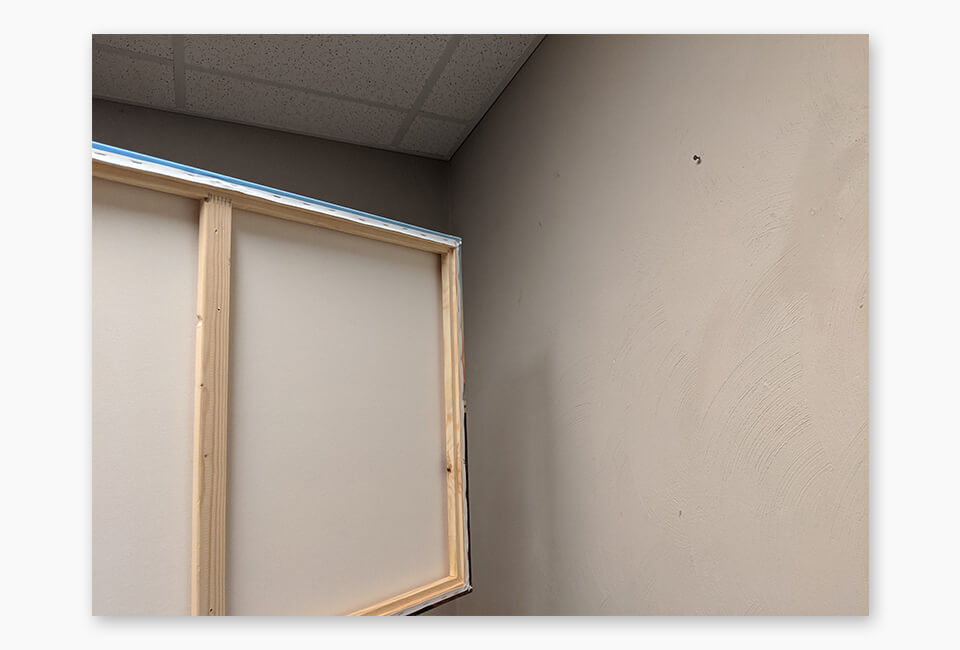
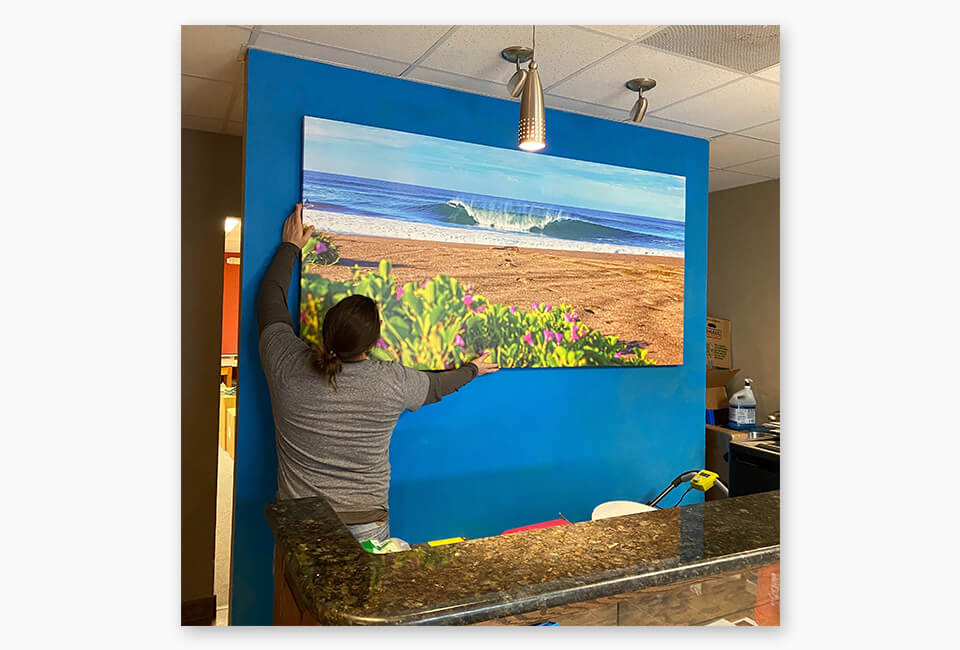
9. Large Canvas Prints
We are one of the few companies that will do huge canvas prints. If you are considering a very large (bigger than 40 x 60 inches) canvas, here are some things to keep in mind.
Our limitation is 54 inches on the small side, and 110 inches on the long side. So we can do 54 inches x 110 inches but not 60 x 110.
Here is an example of a large canvas print hanging in the lobby of our production facility.
Shipping is also more expensive with larger canvases. Once the canvas gets over 40 x 60 inches, it becomes a freight shipment and we need to build a crate for it. You can see a picture of the crated canvas below:
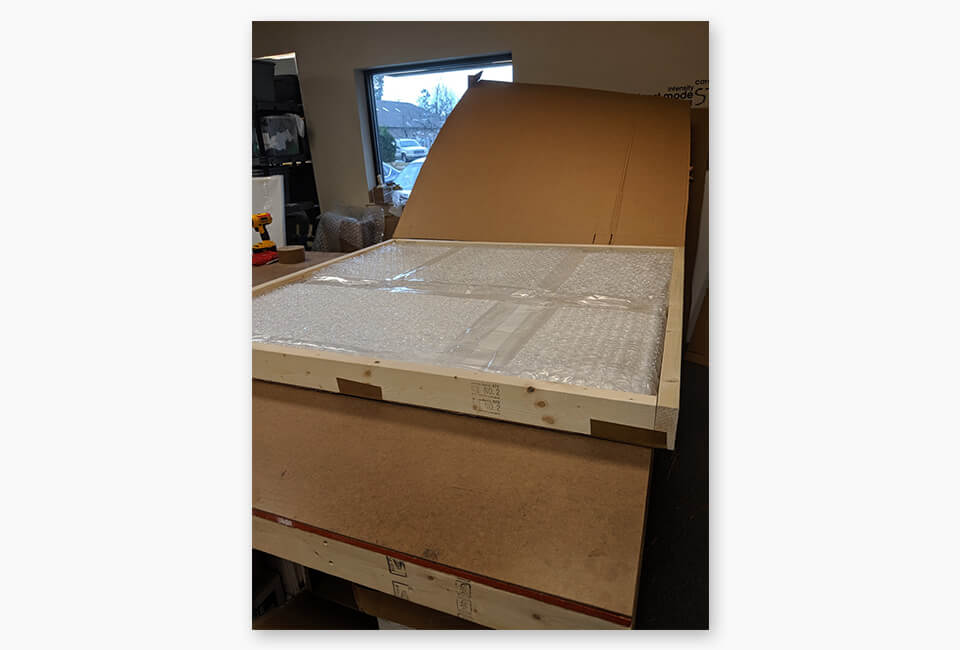
If you are looking for a huge canvas print like this, the best way to start the process is to email us and we’ll get the freight and canvas quote for you.
10. Ground vs Freight Shipping
Most canvas prints are shipped via ground service – either USPS priority, Fedex ground, or UPS ground.
The days in transit varies by location, but typically west coast is 4 days in transit, central us 3 days, and east coast 1-2 days.
Freight shipping takes much longer than ground but is only used if it’s a giant canvas print (larger than 40 x 60 inches).
11. Types of Prints that Work Well on Canvas
While almost any type of image will look good on canvas, these are the most popular types of images our customers get printed on canvas.
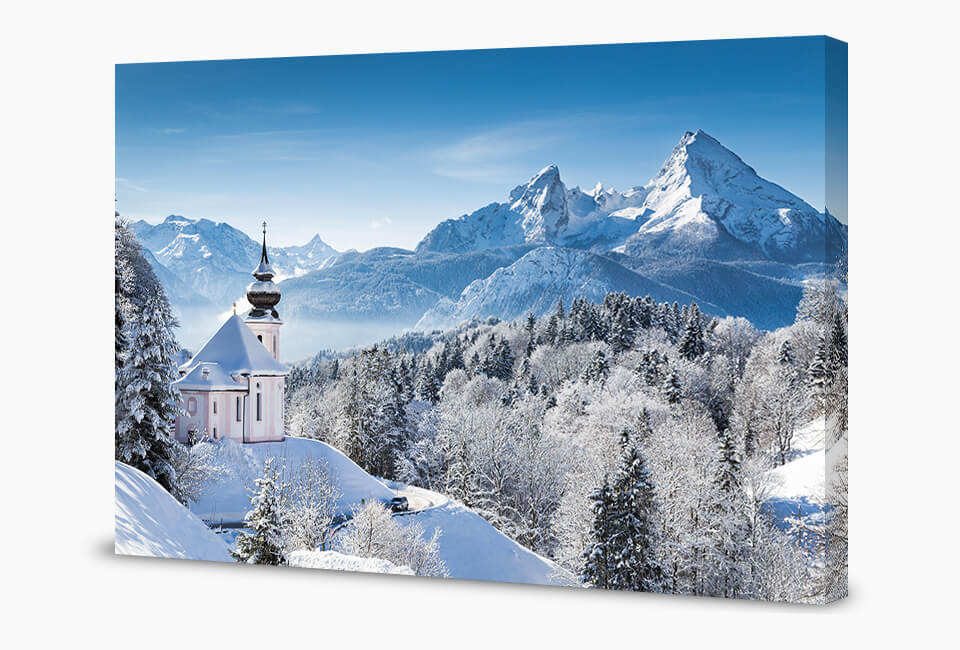
Landscape Photos on Canvas
Landscape images of nature scenes are the most common canvases we print. They also tend to sell well at art shows.
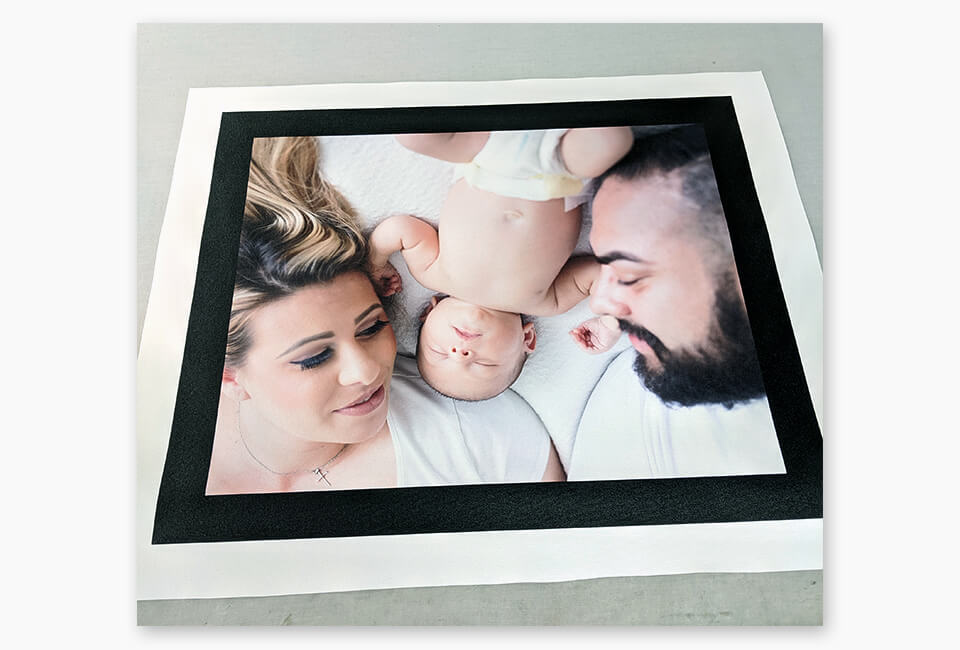
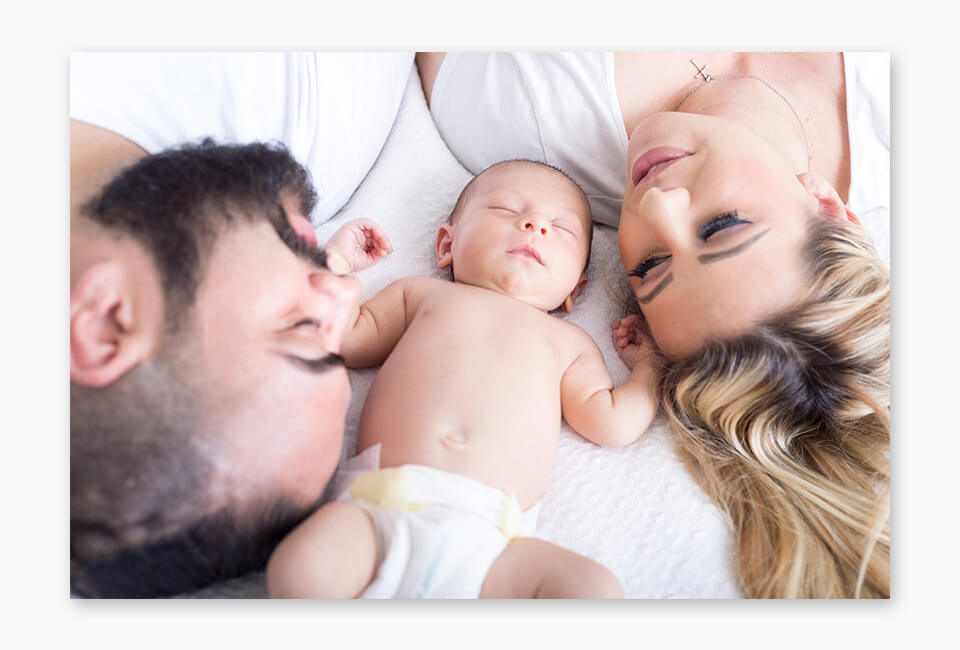
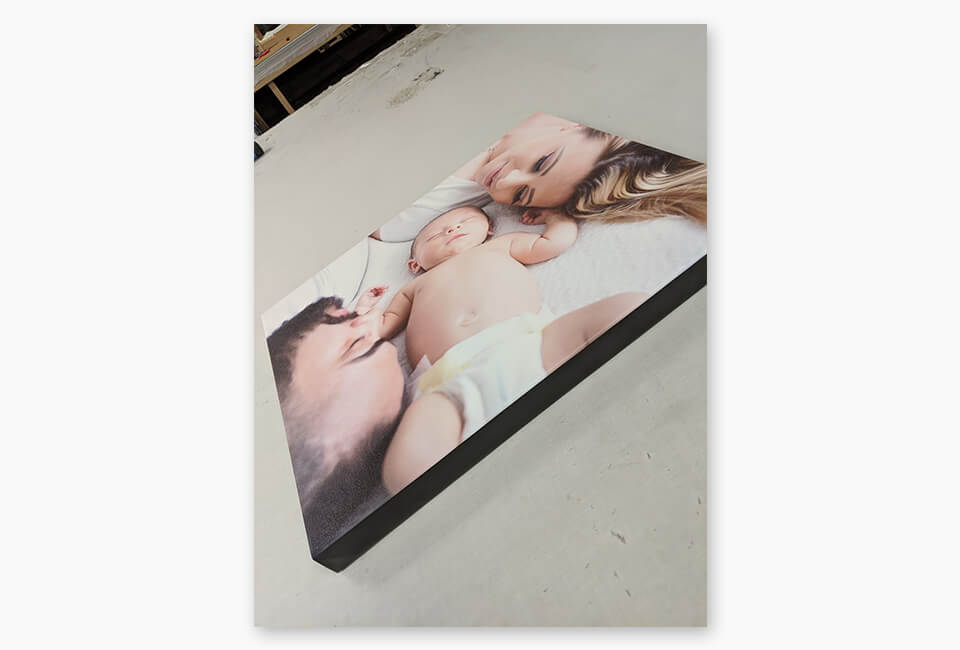
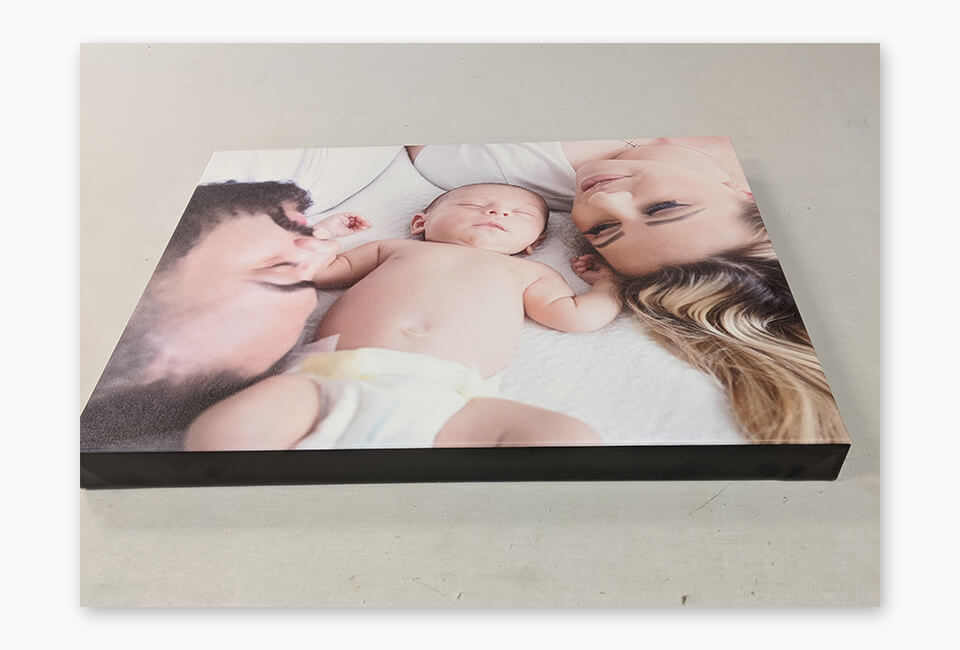
Family Pictures on Canvas
Family pictures are another popular option on canvas.
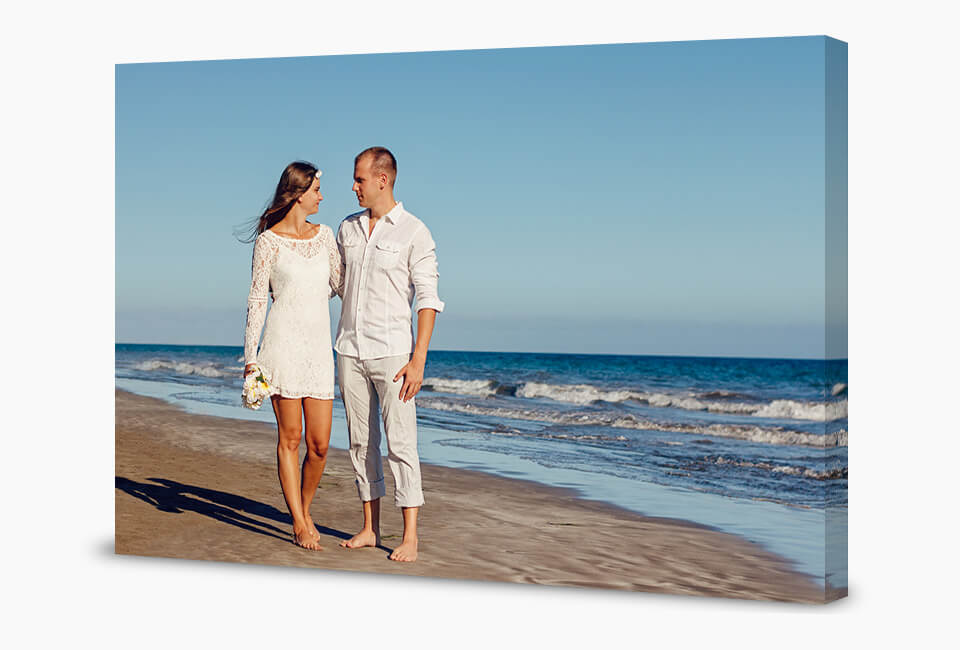
Wedding Pictures on Canvas
Wedding pictures always look great on canvas.
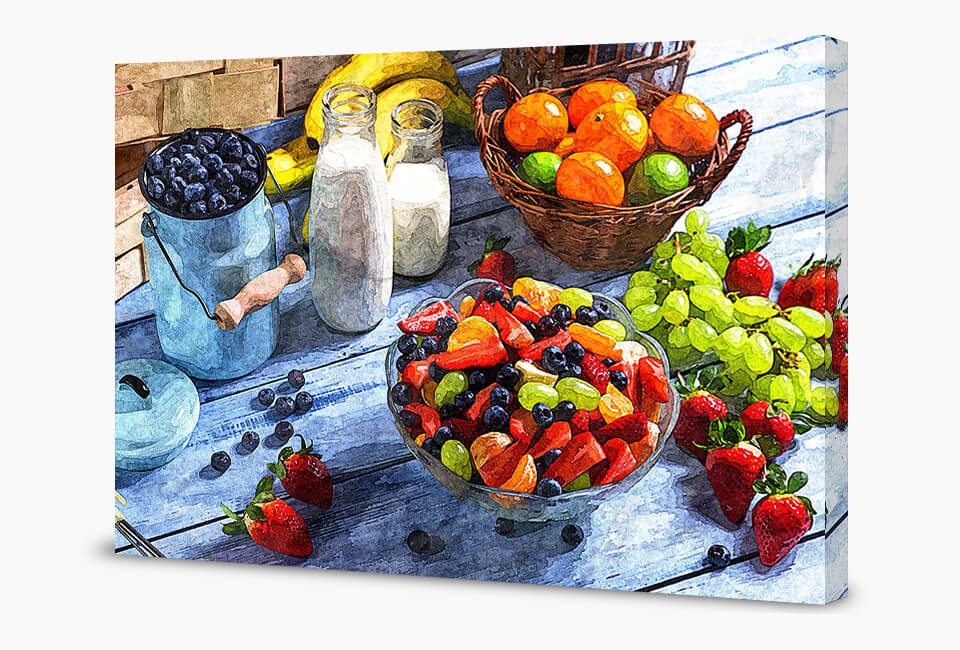
Art on Canvas
Whether it is our customers own art or a reproduction of a great master, art always looks great on canvas.
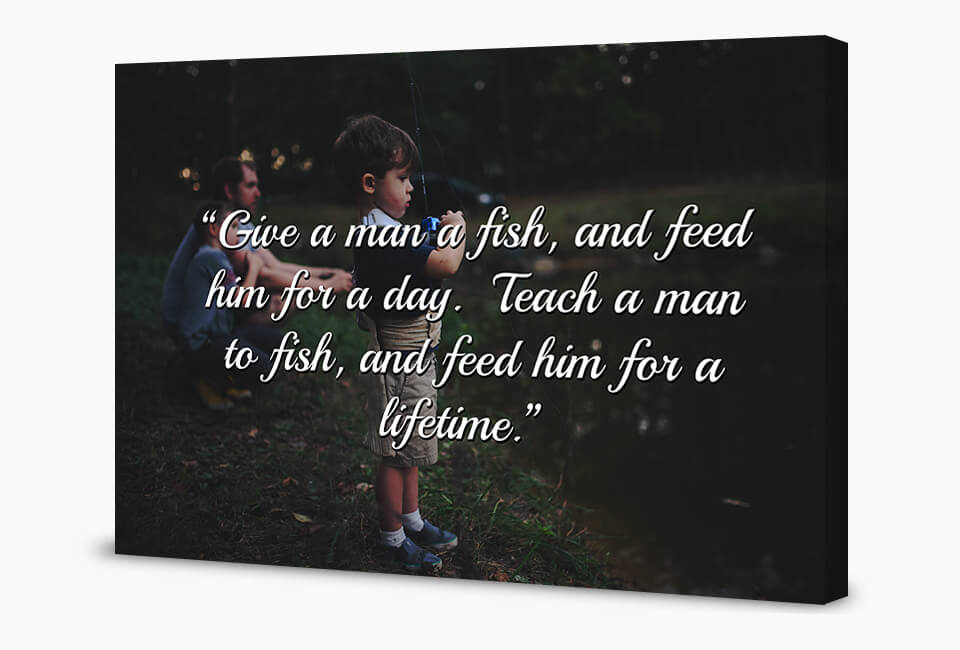
Quotes on Canvas
A popular trend in canvas design is to put quotes or word art against a solid color background.
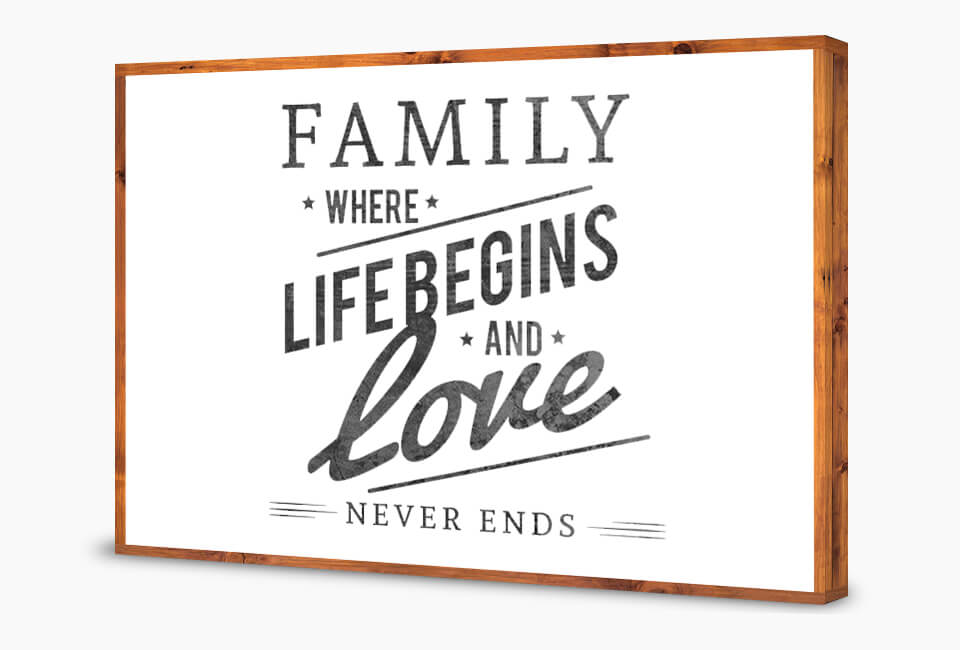
Farmhouse Canvas Prints
Thanks to Joanna and Chip, farmhouse canvas styles have become very popular.
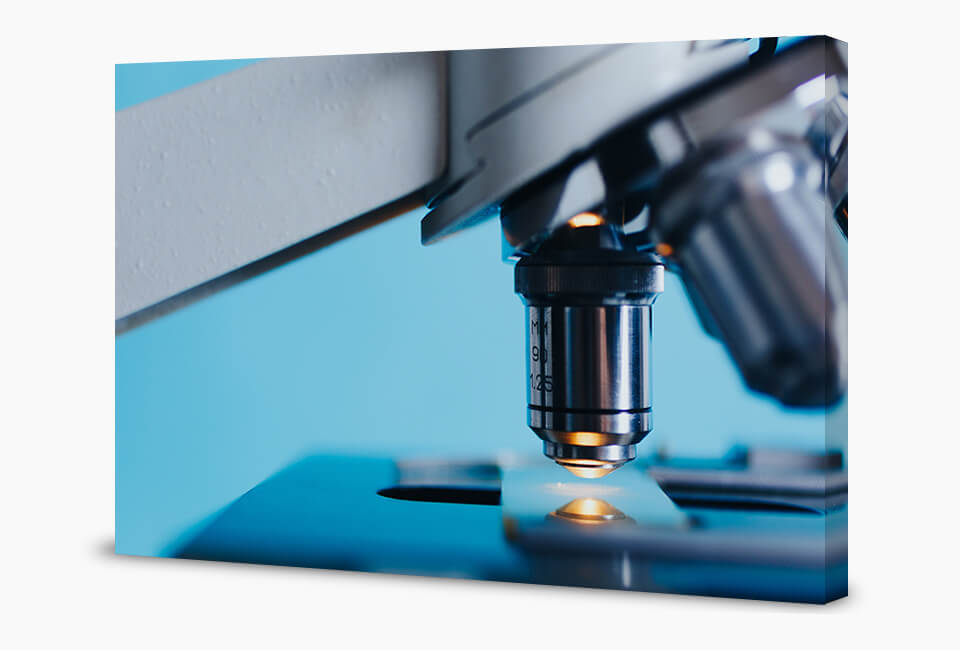
Medical or Scientific Prints on Canvas
While most scientific or medical prints are done on posters, there are some customers that print them on canvas for increased durability.
12. Conclusion
Canvas prints are popular for a reason. They look great, last a long time, and have a luxury appeal.
If you find you have any questions about turning your picture into a canvas print, feel free to contact us and we'll help you with anything you need.
We currently have some great specials on canvas prints and you can go here to check them out.